Project setup
In a typical project setup, you should have one test project per source project with NUnit referenced.
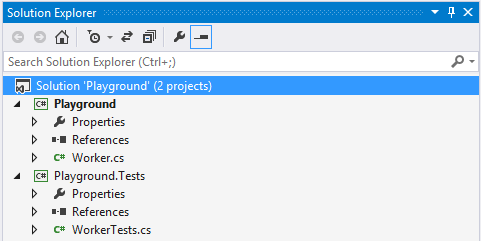
A typical source and test setup
NUnit Executable
One way of using NUnit is quite manual, which you need to install NUnit to your system.
By configuring a test runner with .nunit extension in the following format,
<NUnitProject>
  <Settings activeconfig="Debug" />
  <Config name="Debug" binpathtype="Auto">
    <assembly path="Playground.Tests\bin\Debug\Playground.Tests.dll" />
  </Config>
  <Config name="Release" binpathtype="Auto">
    <assembly path="Playground.Tests\bin\Release\Playground.Tests.dll" />
  </Config>
</NUnitProject>
You now have an executable NUnit file. When opening up the file, you should be one click away from running the tests.
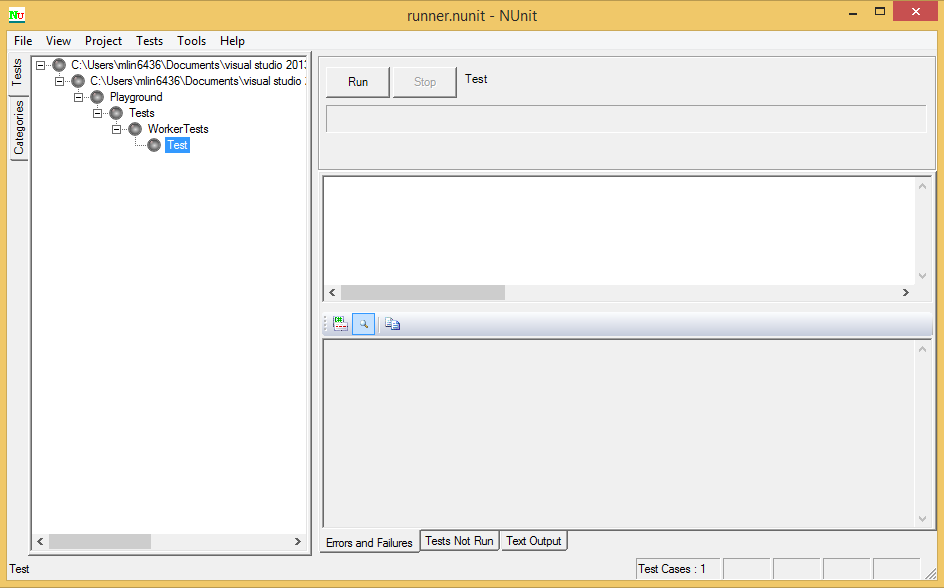
NUnit control pannel
Click Run, and ta-da.
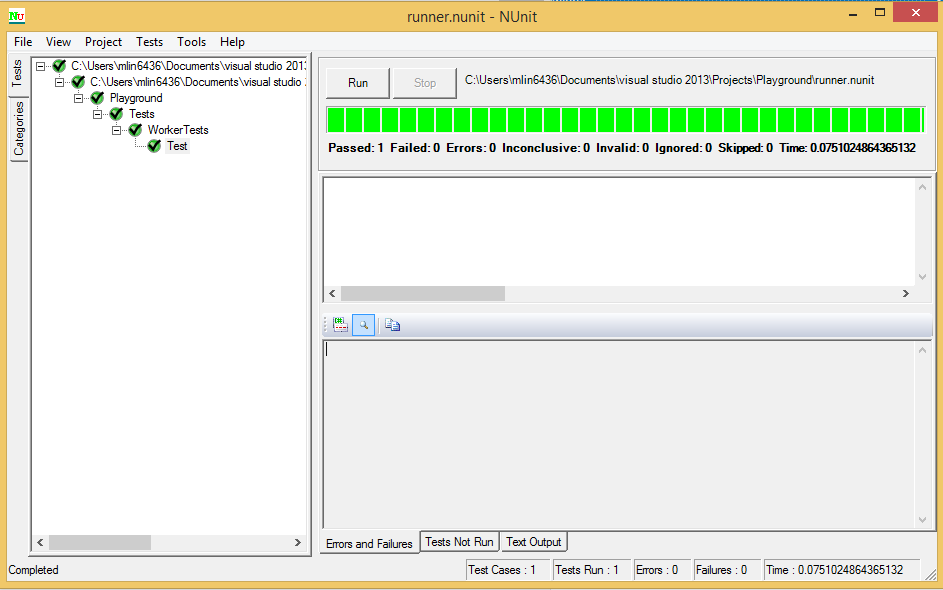
NUnit control pannel after running the tests
NUnit Extension in Visual Studio
A more seamless way of using NUnit in Visual Studio is: go to TOOLS -> Extensions and Updates, find the NUnit Test Adapter in Visual Studio online gallery and install it.
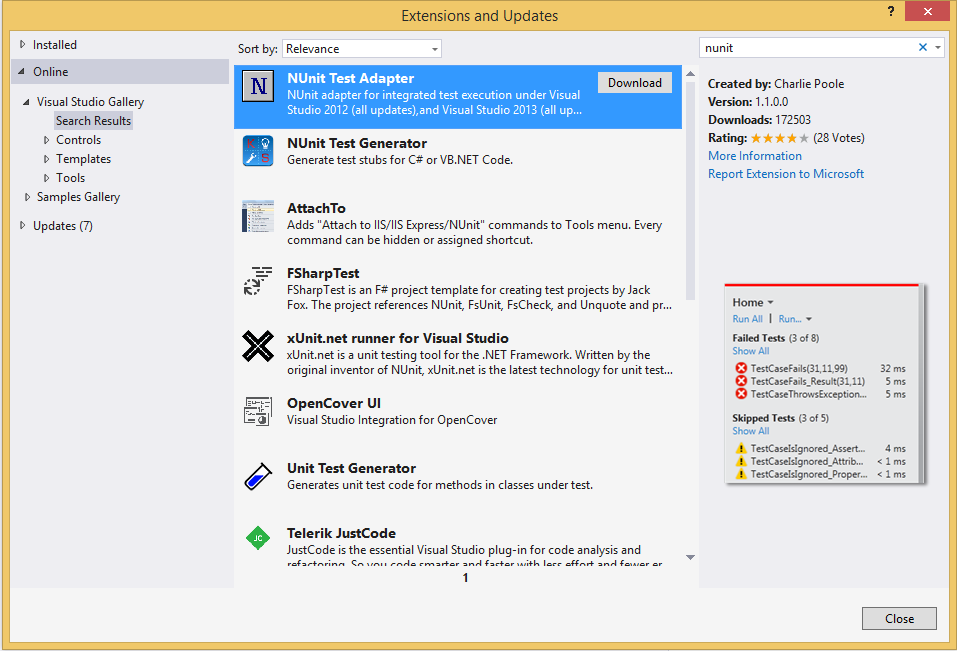
NUnit test adapter plugin
Now again in Visual Studio, if you navigate to TEST -> Windows -> Test Explorer, you should be able to see Test Explorer panel hanging over Visual Studio.
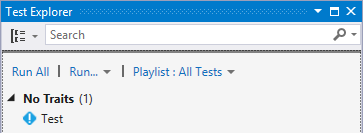
Test Explorer window with a dummy test I created
With the Run All and other execution options available, you should try to push the buttons as often as possible when developing. On a good day or in your dream, you will always get this.
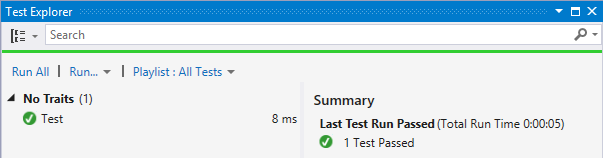
Test Explorer window with a dummy test I created
Resharper
The last and the most expensive way, is to install Resharper. It’s undeniably costly, yet you are more likely to gain a lot of time in return in the long run.
And since we are in Resharper world, you can either use Reshaper shortcut Ctrl+ T, R, or more generic Visual Studio shortcut Alt+ R, U, N to execute the tests like a pro.
And you surely will not miss what pops up onto your screen.
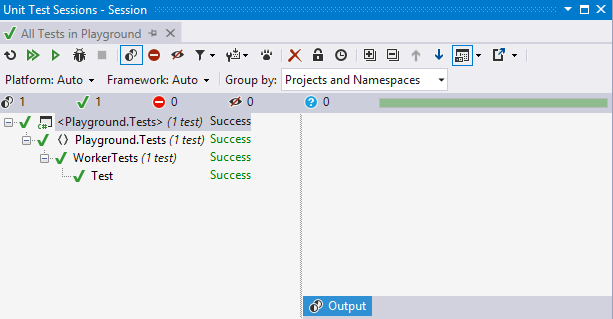
Resharper Unit Test Session
Conclusion
In my opinion, even though Resharper is not a cheap option, but you do get a lot of other cool refactor functionalities, and smoother workflow.
If budget is a concern, to setup your own NUnit runners is still going to make your life a lot easier, and I will personally go for the NUnit extension to make testing independent from the PC being used, and save the hassle of re-configuration whenever you need to add a new project.